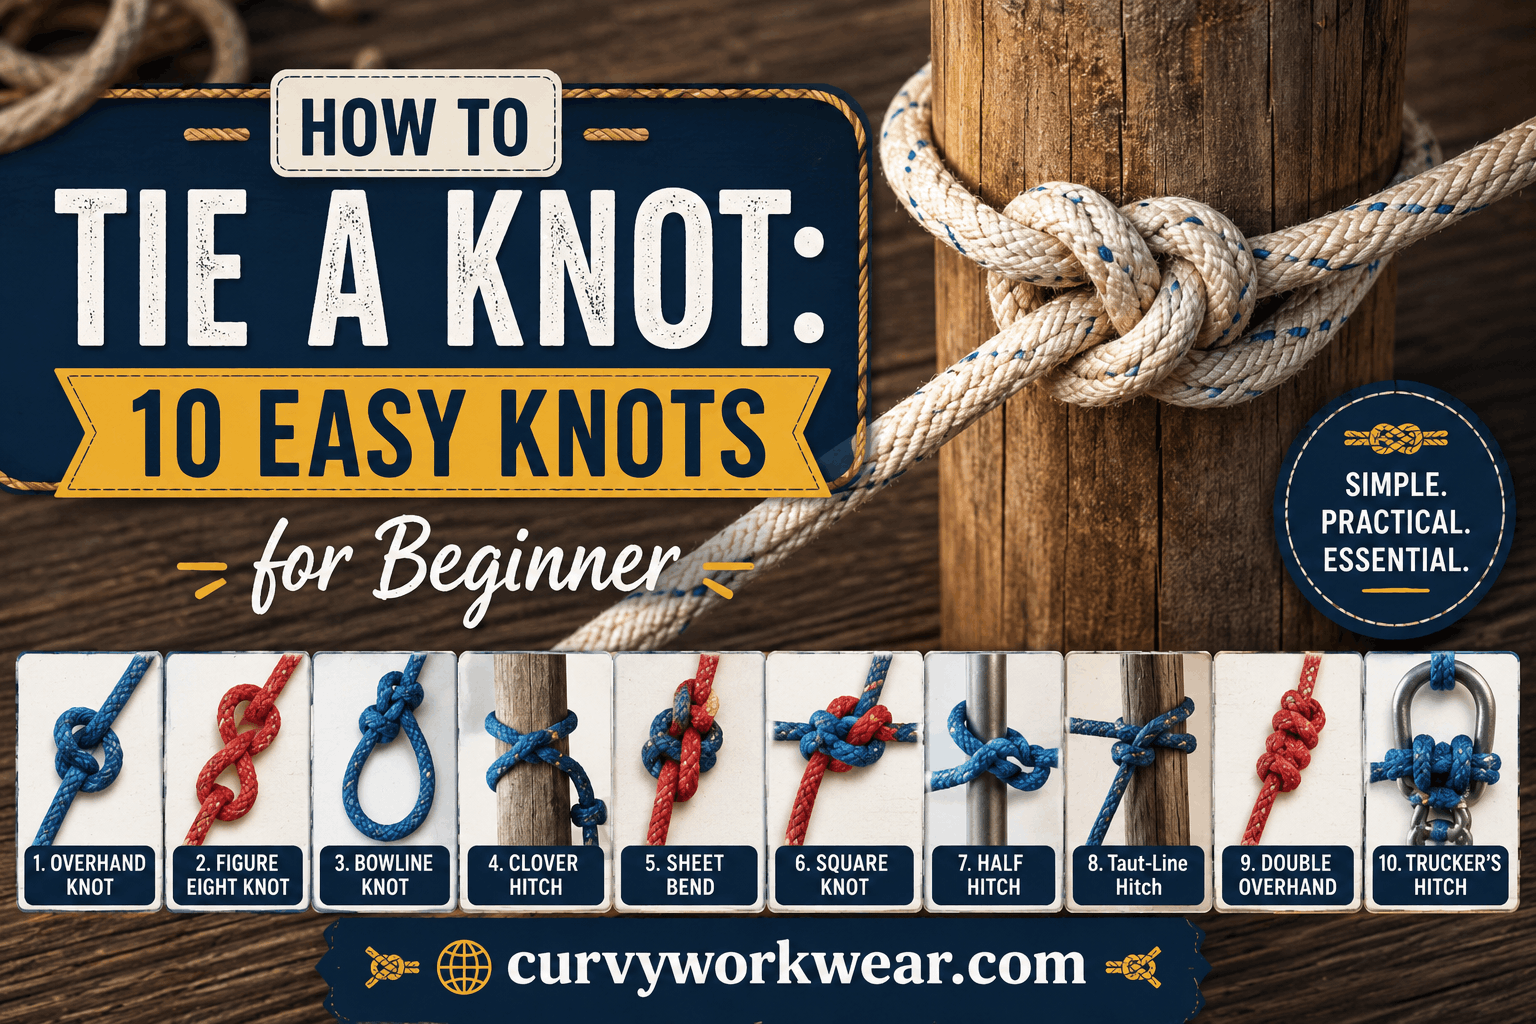
Ever struggled to keep your shoelaces tied, a tarp secured, or a package wrapped tight? Knowing how to tie a knot properly can save you from a lot of frustration.
A good knot holds strong under pressure but comes undone easily when you need it to. The tricky part is knowing which knot to use and when. Some knots are made to hold, others are made to slide, and a few are made just to stop a rope from fraying at the end.
In this guide, you’ll learn how to tie a knot step by step for 10 different knots. Each one is simple enough for a total beginner, and useful enough that you’ll actually use it again. Grab a piece of rope or cord, and let’s get started.
Why Learning How to Tie a Knot Matters
Knots aren’t just for sailors and scouts. You’ll use them for camping, fishing, home projects, moving boxes, gardening, and even everyday tasks like securing a load in your car.
A knot tied the wrong way can slip loose at the worst moment. A knot tied the right way holds firm and still comes apart when you want it to. That difference matters more than people think, which is why outdoor guides like REI’s knot-tying resource treat knot selection as a real skill, not just a party trick.
What Makes a Knot “Good”
A good knot does three things well. It holds under load, it doesn’t slip when you don’t want it to, and it’s easy to untie afterward.
Some knots trade one of these for another. For example, a knot that holds extremely well might also jam tight and become hard to undo. Knowing which trade-off you’re making is part of choosing the right knot for the job.
Basic Tools You Need to Tie a Knot
You don’t need much to get started. A simple length of rope, cord, or even a shoelace works fine for practice.
Thicker rope is easier to handle when you’re learning, since it’s less likely to tangle on itself. Once you’re comfortable, you can move on to thinner cord or paracord for more precise knots. If you’re already comfortable with hands-on skills like sewing a zipper, you’ll likely pick up knot tying just as fast, since both rely on the same kind of patient, repeat-it-until-it-clicks practice.
Strengths and Limitations of These Knots
No single knot does everything well. Knowing each knot’s limits is just as important as knowing how to tie it, so here’s a quick reality check on the trade-offs.
Knots That Hold Great but Jam Easily
The square knot and surgeon’s knot grip tightly, but after heavy load or when wet, they can be tough to untie. Expect to work at the knot a little if it’s been under real tension for a while.
Knots That Slip Under the Wrong Conditions
The clove hitch and slip knot are quick and convenient, but neither is meant for constant, heavy, unsupervised loads. If the weight shifts or the rope isn’t kept taut, they can loosen over time.
Knots Rated for Load-Bearing Use
The bowline and figure-8 are the two knots on this list that are trusted in higher-stakes situations, like sailing and climbing, because they hold securely under load and stay easy to untie afterward. That said, real climbing and rigging knots need hands-on instruction, not just a written guide.
How to Tie a Knot Step by Step: 10 Beginner Knots
Here are 10 knots every beginner should know. Each one covers a different everyday situation, from tying two ropes together to hanging something securely.
1. Overhand Knot
This is the simplest knot there is, and probably the first one you ever learned without realizing it.
- Make a loop with the end of the rope.
- Pass the end through the loop.
- Pull both ends to tighten.
Use it to stop a rope from fraying at the end, or as the base for other more complex knots.
2. Square Knot (Reef Knot)
The square knot joins two ropes of a similar thickness. It’s the same knot used to tie a basic shoelace bow, minus the loops.
- Cross the left end over the right end and tuck it under.
- Cross the same end (now on the right) over the left and tuck it under again.
- Pull both ends to tighten.
Remember the phrase “left over right, then right over left.” This keeps the knot from turning into a slip knot by mistake.
3. Bowline Knot
The bowline creates a fixed loop at the end of a rope that won’t slip or tighten under load, yet it’s still easy to untie once the tension is gone. Sailors and climbers rely on this one often.
- Make a small loop in the rope, a little away from the end.
- Pass the end up through the loop from underneath.
- Wrap the end around the standing part of the rope.
- Bring the end back down through the small loop.
- Pull the standing part to tighten.
A common trick to remember the steps: “the rabbit comes out of the hole, goes around the tree, and back down the hole.”
4. Clove Hitch
Use the clove hitch to attach a rope to a post, pole, or railing. It’s quick to tie, though it has a well-known weakness: it can slip or bind under an uneven load. According to Animated Knots by Grog, a widely used knot reference, the clove hitch “should be deeply distrusted when used by itself” for anything critical, so it’s best paired with a backup hitch if the load matters.
- Wrap the rope around the post once.
- Cross over itself and wrap around the post again.
- Tuck the end under the last wrap.
- Pull both ends to tighten.
This knot works best when there’s constant pressure on the rope, like tying off a boat fender or a tent guy line to a pole.
5. Half Hitch
The half hitch is one of the most basic knots, and it’s rarely used alone. Most people tie two half hitches together for extra hold.
- Wrap the rope around an object.
- Pass the end under and over the standing part.
- Pull to tighten.
Tie a second half hitch right after the first for a stronger, more secure hold. Together, they’re called “two half hitches.”
6. Figure-8 Knot
The figure-8 is a stopper knot, similar to the overhand knot but bulkier and easier to untie after it’s been under load. Climbers use a version of this knot often.
- Make a loop, then pass the end behind the standing part.
- Bring the end through the loop, forming a shape like the number 8.
- Pull both ends to tighten.
Use it to stop a rope from slipping through a pulley, hole, or grommet.
7. Slip Knot
A slip knot creates a loop that tightens when you pull the standing end. It’s often used as a quick temporary knot.
- Make a loop in the rope.
- Pull a section of the standing part through the loop to form a second loop.
- Pull the tail to adjust the size, or pull the standing end to tighten completely.
This is the same basic knot used to start a crochet chain or a lasso.
8. Sheet Bend
Use the sheet bend to join two ropes of different thickness, something the square knot struggles to do well.
- Make a bend (like a U-shape) with the thicker rope.
- Pass the thinner rope up through the bend.
- Wrap the thinner rope around both sides of the bend.
- Tuck the thinner rope’s end under itself.
- Pull to tighten.
This knot is especially useful when you only have mismatched ropes or cords on hand.
9. Taut-Line Hitch
The taut-line hitch creates an adjustable loop that holds its position under tension but can still be slid to tighten or loosen. It’s a favorite for tent guy lines and clotheslines.
- Wrap the rope around a stake or anchor point.
- Bring the end back and wrap it around the standing part twice, working toward the stake.
- Wrap it once more, this time on the other side of the first wraps.
- Pull to tighten, then slide the knot to adjust tension as needed.
Once weighted, this knot grips the standing line and won’t slip on its own.
10. Surgeon’s Knot
The surgeon’s knot is a square knot with one extra twist added to the first cross. That extra twist gives it more grip while you tighten the second half.
- Cross the left end over the right and tuck it under twice (instead of once).
- Cross the same end over the left and tuck it under once, as in a regular square knot.
- Pull both ends to tighten.
It’s commonly used in sewing, first aid, and fishing line, anywhere you need extra friction to hold the first cross in place while you finish the knot. If you’re into hand sewing or mending projects, it pairs naturally with other basic repair skills, like patching jeans or fixing a hem.
Common Mistakes Beginners Make When Tying a Knot
Learning how to tie a knot takes some practice, and most beginners run into the same few issues early on.
Pulling the Knot Too Fast
Tightening a knot too quickly can twist it into the wrong shape. Slow down and check that the rope is following the pattern correctly before pulling tight.
Mixing Up Knot Types
A square knot tied incorrectly turns into a “granny knot,” which slips and holds poorly. If your knot looks lopsided instead of symmetrical, you likely crossed the wrong way on the second step.
Using the Wrong Knot for the Job
Not every knot is meant to bear weight or hold permanently. A slip knot, for example, isn’t meant to hold heavy, constant loads the way a bowline can.
Tips for Practicing Knots
Practice with a rope you can see clearly, ideally in two contrasting colors if you’re learning to join ropes. This makes it easier to track which end goes where.
Go slowly and repeat each knot several times before moving to the next one. Muscle memory matters more than reading the steps once.
If you get stuck, tie the knot loosely first, check that it matches the shape described, and then tighten it. This is much easier than trying to fix a knot that’s already been pulled tight.
Frequently Asked Questions
What is the easiest knot to learn first?
The overhand knot is the easiest one to start with. It only takes one loop and one pass-through, and it’s the foundation for several other knots on this list.
What knot should I use to tie two ropes together?
Use a square knot if the ropes are a similar thickness, or a sheet bend if they’re different sizes. The square knot is simpler, but the sheet bend holds better when the ropes don’t match.
Which knot is best for hanging something securely?
The bowline is a solid choice, since it forms a strong loop that won’t slip under load but still comes untied easily afterward. The clove hitch also works well for tying off to a post or pole.
Do all knots hold the same amount of weight?
No, different knots hold weight differently depending on the rope type, thickness, and how the knot is tied. For anything safety-critical, like climbing or rigging heavy loads, it’s best to learn from a certified instructor rather than relying on general guides.
How can I stop my knots from slipping?
Make sure you’re using the right knot for the job, since some knots are designed to grip while others are designed to slide. Also check that you tied it correctly, since even a small mistake, like crossing the wrong way, can make a knot far more likely to slip.
Conclusion
Knowing how to tie a knot is one of those simple skills that pays off again and again, whether you’re camping, fixing something around the house, or just tying down a load in your trunk. Each of the 10 knots here covers a different job, from joining ropes to creating a loop that holds steady.
The key is practice. Pick two or three knots that fit what you actually do most often, and practice them until your hands remember the steps without thinking.
Grab a piece of rope, work through these steps at your own pace, and before long, tying the right knot will feel like second nature.
Disclaimer: This guide covers general-purpose knots for everyday tasks like camping, packing, and home projects. It is not a substitute for certified training in climbing, rigging, sailing, or any other activity where a knot failure could cause injury. For safety-critical uses, please learn from a qualified instructor.