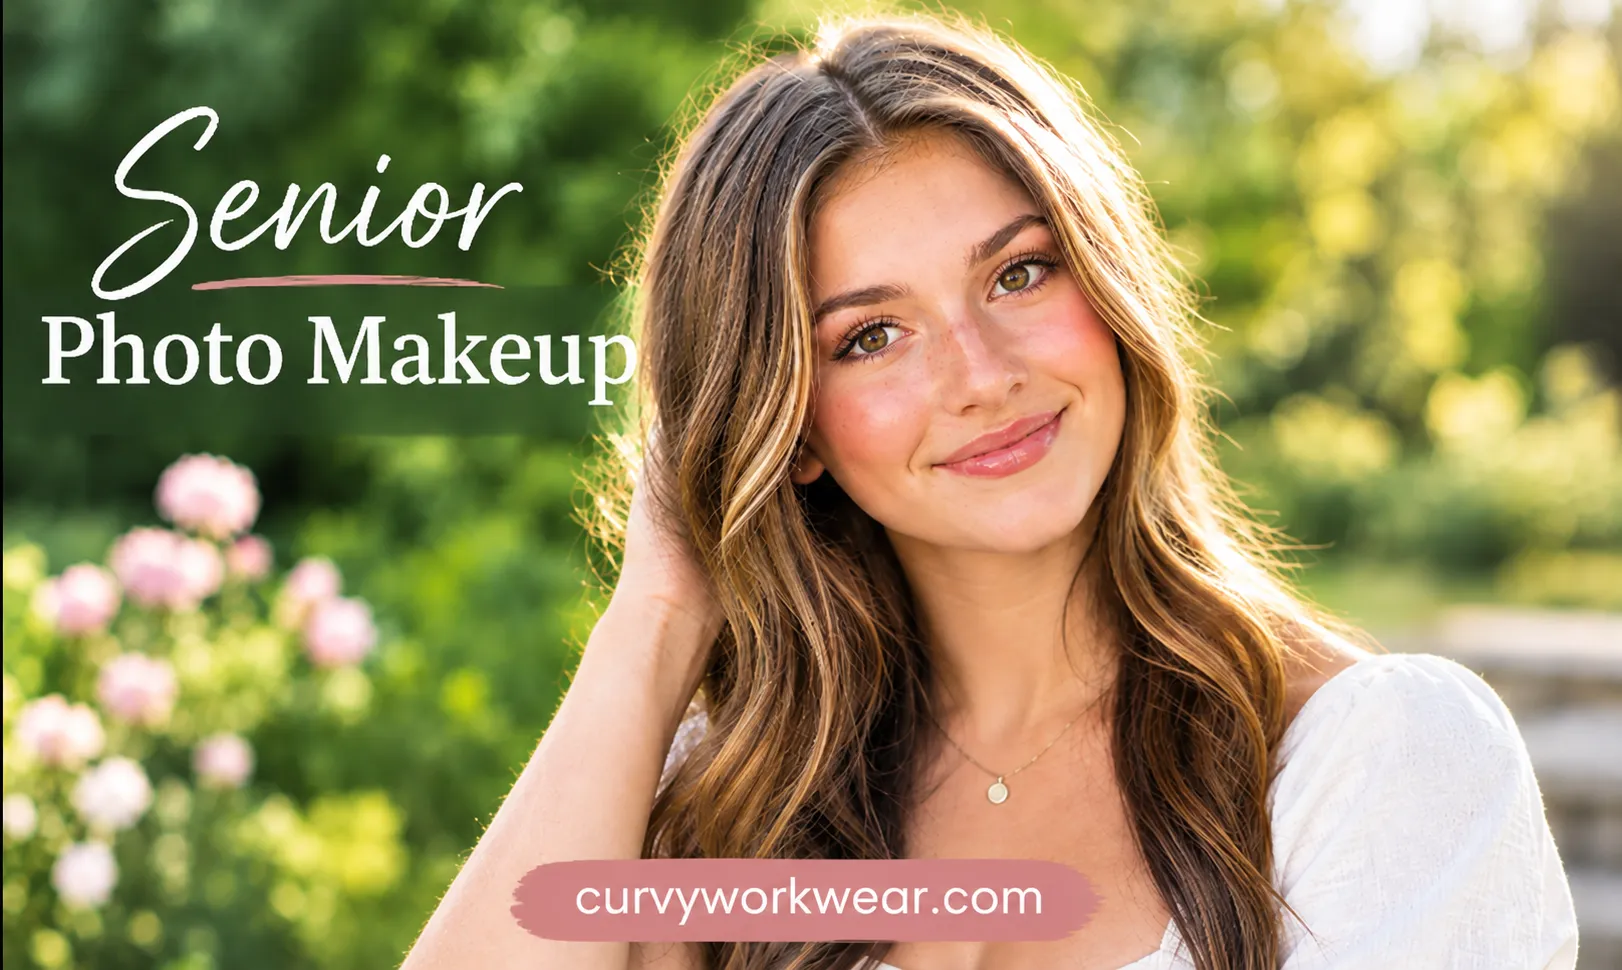
What Makes Senior Photo Makeup Look Good in Pictures?
Senior photo makeup should enhance your features without hiding your natural beauty. The goal is to look like yourself, only a little more polished. Good skin preparation helps makeup apply smoothly and evenly. Choose a foundation that matches your skin tone. Blend it well around your jawline and neck. Use concealer only where you need extra coverage.
Soft blush, defined brows, and mascara can brighten your overall look. Choose lip colors that complement your skin tone. Avoid applying too much powder, which can make dry areas look more noticeable. Take a few test photos before your session. Check your makeup in natural light and with your camera flash. This helps you spot shine, uneven blending, or unwanted white cast before the photographer starts shooting.
For a natural finish, avoid heavy shimmer and blend each product carefully. Flashback can happen with some makeup formulas, but it does not affect every SPF product. Test your finished look under the lighting planned for your session.
How to Prepare Your Skin Before Senior Photos
Prepare your skin before applying makeup for senior photos. Start with a gentle cleanser to remove oil, dirt, and sweat. Apply a moisturizer that suits your skin type. Give it a few minutes to absorb before adding makeup.
Avoid trying new skincare products right before your photo session. They may cause irritation or unexpected breakouts. Keep your routine simple and use products your skin already tolerates.
Choose a Primer for Your Skin Type
A good primer helps create a smooth base for makeup. Choose one that suits your skin’s needs.
- Oily skin: Try a lightweight, mattifying primer to help reduce shine.
- Dry skin: Choose a hydrating primer to help makeup apply smoothly.
- Combination skin: Apply a mattifying primer to oily areas only.
- Sensitive skin: Choose a gentle, fragrance-free primer that your skin tolerates.
Apply a thin layer after moisturizer and sunscreen. Follow the product instructions before applying foundation. Avoid using too much primer, as it can cause makeup to pill.
How to Apply Foundation for Natural-Looking Senior Photos
Choose a foundation that matches your skin tone and undertone. Test it along your jawline in natural daylight. Check the shade after it settles, as some formulas can change color.
Start with a small amount and blend it evenly. Use a damp makeup sponge or foundation brush. Add coverage only where redness, blemishes, or uneven skin tone need it. This keeps your natural skin visible.
Choose a natural, satin, or matte finish based on your skin type. Oily skin may benefit from a more matte finish. Dry skin often looks smoother with a hydrating formula. Always test the finish before photo day.
How to Avoid Cakey Makeup and Flashback
Cakey makeup often comes from heavy layers or dry skin. Moisturize first and let your skincare settle. Apply foundation in thin layers instead of using too much at once. Blend around your nose, mouth, and jawline.
Flashback happens when certain makeup ingredients reflect camera flash. This can make parts of your face look pale or gray. Some mineral sunscreens and powders may contribute, depending on their formulas and how you apply them. Not every product containing these ingredients causes flashback.
Use these practical tips before your session:
- Apply powder lightly, mainly where your skin gets oily.
- Avoid adding more powder just to cover shine.
- Take one photo in daylight and another using your camera flash.
- Check whether your face matches your neck in both photos.
- Test your complete makeup look before photo day.
Important: Do not skip sunscreen just to avoid flashback. Keep using suitable sun protection, especially for outdoor portraits. If flash photography is planned, test your makeup beforehand and adjust products only if the photos show a problem.
How to Make Your Eyes Stand Out in Senior Portraits
Your eye makeup should enhance your eyes without overpowering your overall look. Choose shades that complement your skin tone, eye color, and outfit. Soft browns, taupes, and neutral shades work well for many natural looks.
Blend your eyeshadow carefully to avoid harsh lines. Apply a thin line of eyeliner close to your upper lashes. This adds definition without making your eyes look too heavy. Use mascara to separate and define your lashes.
Shape your brows with light, natural-looking strokes. Fill sparse areas with a pencil or powder that matches your brow color. Avoid making your brows too dark or sharply outlined.
Before your session, check your eye makeup in natural light. Take a test photo to see how the colors appear on camera. Adjust any areas that look too dark or uneven.
Which Blush and Lipstick Shades Look Best in Senior Photos?
The right blush and lipstick can add color without overpowering your features. Choose shades that complement your skin tone and match your overall makeup look.
For blush, soft pink, peach, and rose shades create a natural finish. Deeper berry shades can also look beautiful on deeper skin tones. Start with a small amount and blend the color evenly.
For lipstick, choose a shade that feels comfortable and suits your style. Nude pink, rose, peach, and soft berry shades are popular options. Your natural lip color can help guide your choice.
Keep these tips in mind:
- Fair skin: Try soft pink, peach, or light rose shades.
- Medium skin: Consider warm peach, rosy pink, or mauve.
- Deep skin: Try berry, plum, rich rose, or warm brown shades.
- For longer wear: Use a lip liner and apply lipstick evenly.
These suggestions are starting points, not strict rules. Your undertone, outfit, lighting, and personal taste also affect the final look. Take a test photo to check how your colors appear on camera.
How to Make Senior Photo Makeup Last All Day
Start with moisturized skin and let your skincare absorb before applying makeup. Use a primer that suits your skin type. Apply long-wearing foundation in thin layers for a smoother finish.
Focus on these steps:
- Set oily areas: Lightly apply translucent powder to your forehead, nose, and chin.
- Use waterproof products where needed: Waterproof mascara and eyeliner can help prevent smudging.
- Apply setting spray: Choose a spray designed to help makeup last longer. Follow its directions.
- Avoid heavy layers: Too much foundation and powder can make makeup look cakey.
- Test your makeup beforehand: Take photos in natural light and with flash to check the finish.
Bring your lipstick and blotting papers for quick touch-ups. If your photos are outdoors, reapply sunscreen as directed. Use a formula that works with your makeup to reduce pilling or smudging.
7 Senior Photo Makeup Mistakes to Avoid
Senior photos help you remember an important time in your life. The right makeup can help you look like yourself in every picture. Avoid these seven common mistakes before your photo session.
1. Applying Too Much Foundation
Heavy foundation can look cakey and settle into dry areas. Apply a thin layer first, then add coverage where needed. Blend carefully around your jawline and hairline for a natural finish.
2. Choosing the Wrong Foundation Shade
A mismatched foundation can make your face look different from your neck. Test the shade along your jawline in natural light. Check photos before your session to see how the color appears on camera.
3. Skipping Skin Preparation
Dry or flaky skin can make foundation look uneven. Cleanse gently and apply a moisturizer suited to your skin. Avoid trying new skincare products right before photo day.
4. Using Too Much Highlighter or Shimmer
Strong shimmer can create distracting reflections under certain lighting. Apply highlighter lightly to the areas you want to emphasize. Take a test photo to check how your makeup looks.
5. Applying Blush or Bronzer Without Blending
Harsh makeup lines can stand out in close-up portraits. Use a small amount of blush or bronzer first. Blend the edges until the color looks smooth and natural.
6. Ignoring Eyebrows and Mascara Smudges
Unblended brow products can make your eyebrows look harsh. Use light strokes to fill sparse areas without changing their natural shape. Check your mascara and eyeliner for smudges before each photo.
7. Trying a Completely New Makeup Look
A new makeup style may feel uncomfortable on photo day. Practice your chosen look before the session. Take pictures in daylight and with flash to check the final result.
Final tip: Bring your lipstick, blotting papers, and a small mirror. These simple items can help you make quick touch-ups during your session.
Should You Do Your Own Makeup or Hire a Makeup Artist?
Your choice depends on your makeup skills, budget, and the look you want. Both options can work well for senior photos.
Do Your Own Makeup
Doing your own makeup saves money and lets you use familiar products. You can choose the coverage and finish you prefer. Practice the complete look before photo day. Take test photos to check your foundation shade, blending, and overall finish.
Hire a Makeup Artist
A professional can help create a polished look for your portraits. Choose someone experienced with photography makeup. Review their portfolio and discuss your preferred style before booking. Ask about the cost, appointment time, and whether a trial session is available.
How to Make the Right Choice
Choose DIY makeup if you feel confident applying it. Consider a professional if you want expert help or a more detailed look. Either way, avoid testing unfamiliar products on photo day.
Important: Makeup can look different under studio lights and natural daylight. Test your finished look in lighting similar to your photo session.
Frequently Asked Questions
Should You Wear More Makeup for Senior Pictures?
You don’t need heavy makeup for senior pictures. Choose a look that enhances your natural features. Take test photos to check how your makeup looks on camera.
Is Matte or Dewy Makeup Better for Senior Photos?
Matte makeup helps reduce shine, while dewy makeup gives skin a radiant finish. Choose the finish that suits your skin type and preferred look.
When Should You Apply Makeup Before Your Photo Shoot?
Start early enough to apply your makeup without rushing. Allow extra time for hair styling and outfit changes. Test your makeup before photo day to avoid surprises.
Final thoughts
Senior photo makeup should help you feel confident while keeping your look natural. Choose products that suit your skin type and personal style. Practice your makeup before photo day and check how it looks in pictures. Whether you do your own makeup or hire a professional, focus on a look that feels like you. The best senior photos capture your personality, not just your makeup.
Disclaimer: This article offers general tips for achieving natural, camera-ready makeup for senior photos. Makeup results can vary based on skin type, products, and lighting. Always choose products that suit your skin and personal style. Test your makeup before photo day to find a look that makes you feel confident and comfortable.