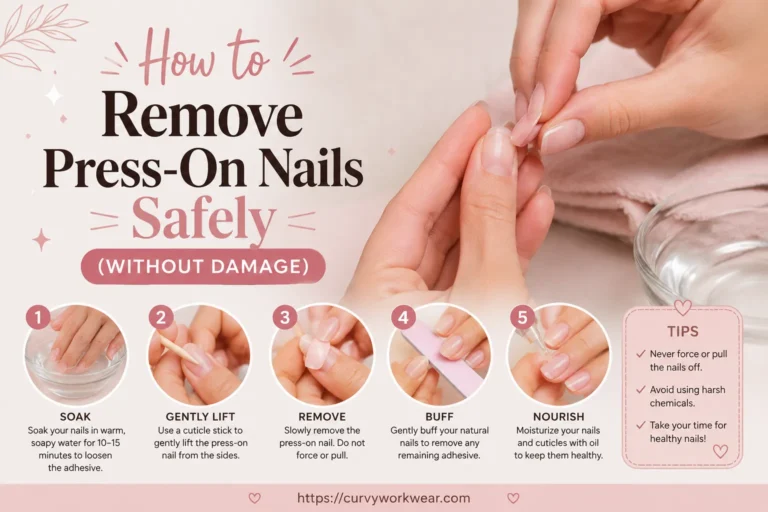
Your gel manicure still looks great, but you’re bored of the color. So you reach for a bottle of regular polish to try nail polish on gel nails instead of booking a salon visit.
That’s a smart move, but putting nail polish on gel nails the wrong way can leave you with peeling, bumps, or a manicure that barely lasts a day.
The good news is these mistakes are easy to avoid once you know what causes them. This guide walks through the five most common slip-ups, plus the right way to do it, so your color change actually holds up.
Disclaimer: This article is for general informational purposes only. Nail products and gel formulas vary by brand, so always check the manufacturer’s instructions for your specific gel polish or gel extensions before trying any technique described here.
Why People Put Nail Polish on Gel Nails
Gel manicures are popular because they last for weeks and dry hard and glossy under a UV or LED lamp. Regular polish, on the other hand, air-dries and comes in a much wider range of colors and finishes.
Layering nail polish over gel nails lets you enjoy both. You keep the strength and shine of your gel base while switching up the color whenever you want, without a full soak-off and reapplication.
This combination is common for people who like frequent color changes but don’t want to redo their gel manicure every time. It’s also useful when a gel color is still fresh but no longer matches an outfit or mood. If you’d rather skip liquid polish entirely on some days, nail stickers are another low-commitment way to change your look without touching the gel underneath.
Advantages and Disadvantages of Nail Polish Over Gel Nails
Before trying nail polish on gel nails, it helps to know what you’re gaining and what trade-offs come with it.
Advantages
- More color options: Regular polish comes in far more shades and finishes than most gel polish lines offer.
- Cheaper than a new gel set: You skip the cost of a full gel manicure just to change your color.
- Easy to remove: Regular polish wipes off with standard remover, so you can switch colors often without disturbing the gel underneath.
- No lamp needed: You don’t need a UV or LED lamp to dry the top layer, which makes touch-ups easy at home.
Disadvantages
- Shorter wear time: Regular polish over a gel base usually chips sooner than a full gel manicure.
- Needs proper prep: Skipping buffing or cleansing can cause the polish to peel off in sheets rather than chip gradually.
- Can look less glossy: Regular polish doesn’t always match the high-shine finish gel polish is known for.
- Risk of damaging gel: Using the wrong remover, like pure acetone, can break down the gel layer underneath.
Weighing these points helps you decide if this is the right fix for today, or if it’s time for a fresh gel set instead.
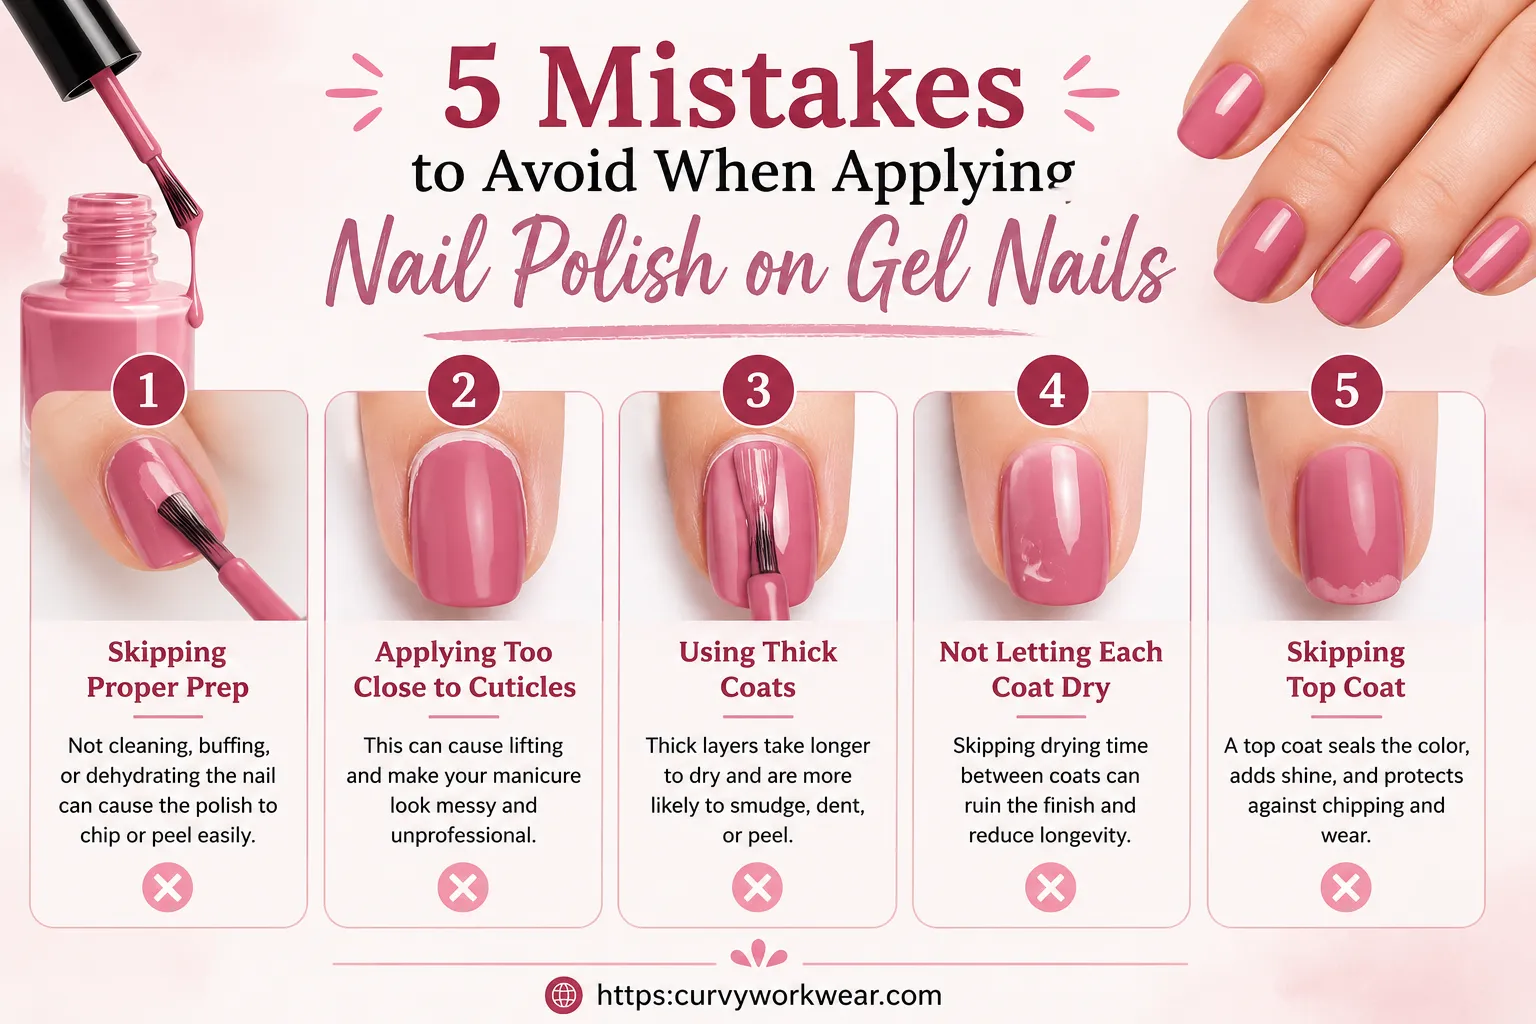
5 Mistakes to Avoid When Applying Nail Polish on Gel Nails
Most problems with nail polish on gel nails come down to a handful of repeatable mistakes. Here’s what to watch for.
Mistake 1: Skipping the Buffing Step
Gel polish cures into a smooth, shiny surface. That shine is great for durability, but it makes it hard for regular polish to grip.
Skipping the buff is one of the biggest reasons polish peels off in one piece instead of wearing down naturally. According to nail brand Young Nails, buffing the gel polish before applying regular color creates a smooth, workable surface that helps the new layer adhere properly.
A light buff with a fine-grit file is enough. You’re not trying to remove the gel, just knock down the shine so the polish has something to hold onto.
Mistake 2: Not Cleansing the Nail Surface
After buffing, dust and oil are left behind on the nail. If you skip cleaning this off, the polish can bubble or slide instead of sitting flat.
Wipe each nail with rubbing alcohol or a nail cleanser pad before you start painting. This step takes seconds but makes a real difference in how well the polish holds.
Mistake 3: Applying Too Thick a Layer
It’s tempting to use one thick coat to save time, especially with darker or more pigmented colors. However, thick layers take longer to dry and are more likely to smudge or peel.
Two thin, even coats almost always look better and last longer than one thick one. Thin layers also dry faster, which matters since regular polish can take up to 24 hours to fully harden, according to nail care resource Nailicy.
Mistake 4: Removing Regular Polish with Pure Acetone
When it’s time to change color again, reaching for pure acetone feels like the fastest fix. Unfortunately, pure acetone doesn’t know the difference between your regular polish and the gel underneath.
Acetone can soften and break down gel polish, shortening the life of your manicure. Use a gentler, non-acetone remover instead, and only apply it to the regular polish layer, wiping gently rather than soaking.
Harsh removers don’t just affect the gel, either. The American Academy of Dermatology notes that frequent exposure to acetone and other drying products can weaken and dehydrate the natural nail over time, which is one more reason to be gentle when removing nail polish on gel nails.
Mistake 5: Skipping the Top Coat
A base coat gets a lot of attention, but the top coat matters just as much. Without it, regular polish chips and dulls much faster, especially at the tips of your nails.
A quality top coat seals in the color and adds a layer of protection against daily wear, like typing, washing dishes, or opening cans.
How to Apply Nail Polish on Gel Nails the Right Way
Once you know the common mistakes, the actual process of applying nail polish on gel nails is fairly simple. Here’s the basic order to follow.
Step 1: Buff and Cleanse
Lightly buff the gel surface with a fine-grit file, then wipe the nail clean with rubbing alcohol or a nail prep pad. This removes shine and leftover dust so the polish can grip properly.
Step 2: Apply a Base Coat
A thin layer of base coat helps regular polish adhere evenly and protects against staining, especially with darker or brighter shades.
Step 3: Add Thin, Even Coats of Color
Apply one or two thin coats of your chosen polish, letting each layer dry before adding the next. Rushing this step is one of the fastest ways to end up with a lumpy or uneven finish.
Step 4: Seal With a Top Coat
Finish with a clear top coat to add shine and help the color resist chipping. Let the top coat dry fully before you get back to daily tasks like typing or washing your hands.
Tips to Make It Last Longer
A few small habits go a long way toward keeping nail polish on gel nails looking fresh between gel touch-ups.
Wear Gloves for Chores
Dish soap, cleaning products, and hot water all wear down regular polish faster. Gloves protect your manicure during everyday chores like washing dishes.
Avoid Picking at Chips
Picking at a chip often pulls up more polish than it removes, sometimes taking a bit of the gel layer with it. Instead, gently file the chipped edge smooth or add a fresh top coat over it.
Reapply the Top Coat Every Few Days
A fresh layer of top coat every two to three days can extend the life of your manicure and keep the shine looking new.
If you’re also deciding what shape works best under your polish, our guide on nail shapes breaks down which options hold color and shine the longest. For more manicure guides like this one, browse our full Nail section.
FAQ: Nail Polish on Gel Nails
Can you put regular nail polish over gel nails?
Yes. With light buffing, a clean surface, and a proper base and top coat, regular nail polish over gel nails can look smooth and last for several days.
How long does nail polish last over a gel manicure?
It varies by brand and daily activity, but regular polish over gel nails often holds up well for about a week before noticeable chipping. Following proper prep steps can help it last closer to that upper range.
Can I use gel top coat over regular nail polish?
This isn’t usually recommended, since gel top coats cure under UV or LED light, while regular polish needs air-drying time first. Trapping moisture under a cured gel top coat can affect how well it holds and may irritate the nail underneath.
Will removing regular polish damage my gel manicure?
It can, if you use pure acetone or scrub too hard. A gentler, non-acetone remover applied carefully to just the top layer is safer for the gel underneath.
Do I need to buff every time before applying nail polish on gel nails?
Yes, a light buff each time helps the new coat of polish grip properly. Skipping this step is one of the main reasons polish peels off unevenly.
Conclusion
Putting nail polish on gel nails is a simple way to change your color without a full salon visit, as long as you avoid the common mistakes. Skipping the buff, rushing the coats, or reaching for pure acetone are the fastest ways to ruin an otherwise good manicure.
Take the extra few minutes to prep properly, apply thin coats, and finish with a top coat. Your next color change will look smoother and last longer, and you’ll get more life out of your existing gel manicure.